

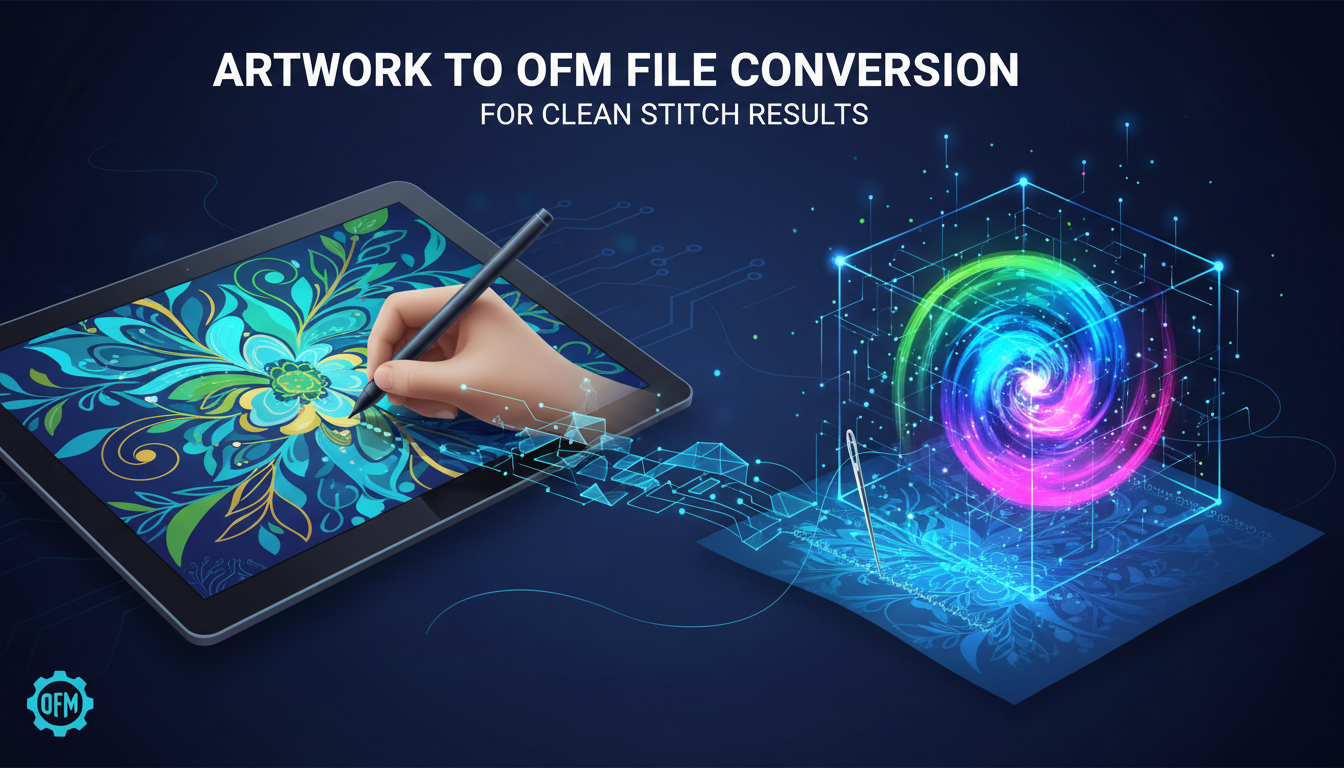
Artwork to OFM File Conversion for Clean Stitch Results
If you are serious about embroidery, you know that the quality of your stitch starts with the right file format. Many creators and businesses need to Convert Artwork to OFM File Format before stitching. An OFM file is designed for Pfaff and other compatible machines, and it ensures that your designs are machine-ready, smooth, and accurate. Without proper conversion, even the best embroidery machine cannot produce clean stitch results.
In this guide, we will break down why OFM files matter, how the conversion process works, and tips for achieving the best results for logos, patterns, and detailed artwork.
What Is an OFM File Format?
An OFM file is an embroidery file used mainly by Pfaff machines. It is different from other formats like PES or DST because it stores stitch data in a way that is optimized for Pfaff’s stitching system.
Why OFM Files Are Important
OFM files tell the machine exactly how to stitch:
- Stitch type
- Stitch density
- Stitch direction
- Color changes
Without an OFM file, your design may stitch incorrectly or even fail to load on the machine.
Why Convert Artwork to OFM File Format
Artwork often comes in JPG, PNG, PDF, or vector files. Machines cannot read these files directly.
Clean Stitching Starts with Conversion
When you convert artwork to OFM:
- Stitch flow is optimized
- Small details are preserved
- Thread breaks are reduced
- Edges are clean and crisp
This ensures a professional finish for every embroidery project.
Avoid Common Problems
Skipping OFM conversion can lead to:
- Puckering fabric
- Misaligned stitches
- Broken threads
- Wasted material
Proper conversion reduces these risks.
How OFM Conversion Works
Converting artwork to OFM is more than just changing a file type.
Step 1: Analyze the Artwork
The first step is examining the design. A professional digitizer looks for:
- Line thickness
- Small details
- Color areas
- Overall size
Step 2: Digitize the Design
Digitizing is turning the design into a series of stitches. This includes:
- Choosing stitch types for different areas
- Setting stitch density
- Planning underlay to prevent fabric puckering
Step 3: Export to OFM Format
Once digitized, the design is saved as an OFM file. The machine can now read it and stitch exactly as intended.
Manual vs Automatic Conversion
Not all OFM conversions are equal.
Automatic Conversion
Auto tools can convert basic shapes quickly but often fail with:
- Detailed logos
- Small text
- Gradient patterns
Manual Digitizing
Manual digitizing gives precise control:
- Correct stitch flow
- Smooth edges
- Fabric-friendly designs
For complex artwork, manual conversion always produces better results.
OFM Conversion for Logos
Logos require special attention.
Challenges in Logo Embroidery
Most logos include:
- Small text
- Thin lines
- Sharp corners
Incorrect conversion may distort these details.
How OFM Conversion Helps
A professional OFM file:
- Keeps edges sharp
- Maintains text readability
- Optimizes color order
- Balances stitch density
This ensures your logo looks professional on any garment.
OFM Conversion for Detailed Artwork
Detailed artwork like mascots, floral patterns, or textured designs needs careful planning.
Key Elements in OFM Files
- Balanced stitch density
- Smart color sequencing
- Minimal jump stitches
Proper conversion preserves all details without stressing the fabric.
Common Mistakes in OFM Conversion
Knowing what to avoid helps improve results.
Ignoring Fabric Type
Designs for jackets, caps, and shirts all require different stitch settings.
Overlooking Small Details
Tiny letters and fine lines often get lost if not digitized carefully.
Skipping Test Runs
Always test stitch a new design before full production. It prevents errors and wasted material.
Benefits of Professional OFM Conversion
Hiring an expert or using a reliable service provides many advantages.
Saves Time
You do not have to troubleshoot bad files or redo designs.
Reduces Machine Stress
Correct OFM files minimize needle breaks and tension issues.
Ensures Consistency
Every design looks the same, even if stitched months apart.
Preparing Artwork for Conversion
Providing clear artwork helps the conversion process.
Best File Types to Share
- AI or EPS vectors
- High-resolution JPG or PNG
- PDF with clear lines
Include Design Details
Tell the converter:
- Final size
- Fabric type
- Placement (cap, shirt, jacket)
This ensures a clean OFM file.
Turnaround Time and Revisions
Fast delivery and easy edits are essential for businesses.
Typical Turnaround
Many professional converters deliver files within 24–48 hours.
Revision Support
Minor edits or corrections are often free or low-cost, ensuring your design is perfect.
Long-Term Value of Proper OFM Conversion
Investing in proper conversion saves money over time.
Less Material Waste
Clean files reduce errors, broken threads, and misaligned stitching.
Consistent Quality
Every stitch-out matches the design exactly, building client trust.
Professional Brand Image
Clean embroidery elevates your products and strengthens your reputation.
Final Thoughts
Converting artwork to OFM file format is the first step toward high-quality embroidery. Whether you are creating logos, detailed patterns, or multi-color designs, proper OFM conversion ensures smooth, accurate, and professional stitch results. It reduces errors, saves time, and keeps machines running efficiently.
For businesses and creators seeking clean, reliable, and professional embroidery results, many trust Digitizing Buddy for OFM file conversion that delivers precise, stitch-ready designs every time.
